Unfortunately, as RV’s become lighter and more “Ultra-Lite” like in our ’16 Outback 324CG, the thermal stability inside suffers. This derives from manufacturers using cheaper, lighter materials and less of it to separate the inside from the outside. Walls, floors, and ceilings are thinner and overall less effective as evidenced by our last trip which was in full shade 85% of the day. For about 15% of the day the front cap was in the full sun. At ~2pm I was reading surface temperatures inside on the ceiling under the area of the front cap at 102 degrees… it was 106 outside and the A/C had been on all day since 6am. That’s significant heat transference into the living area!
It’s 2pm-ish here in this pic…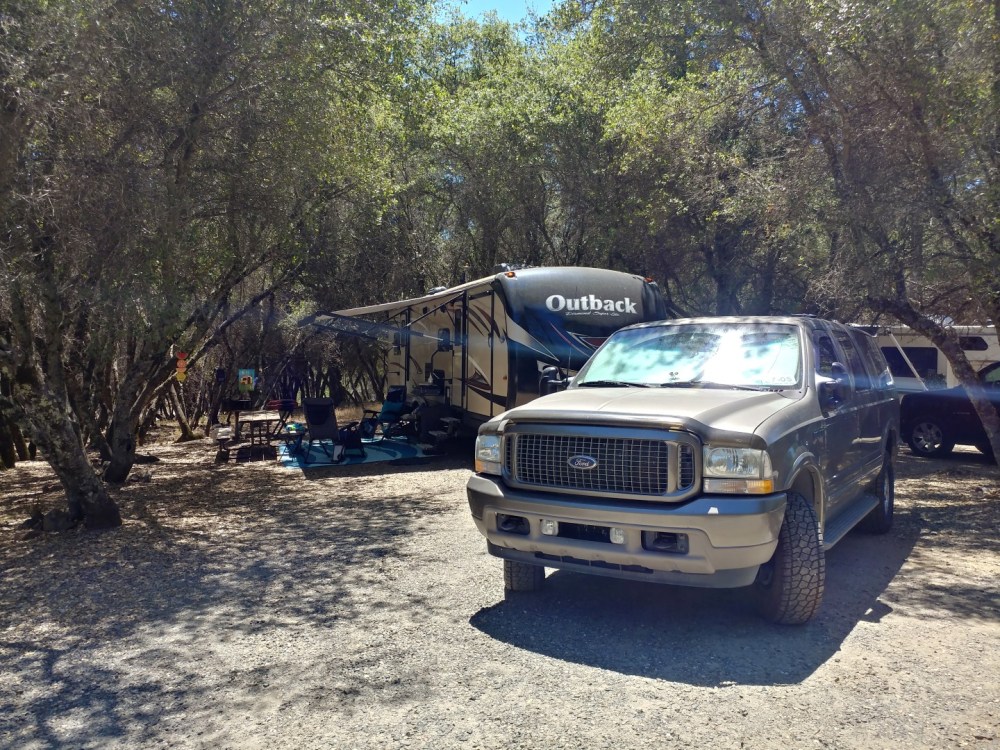
We’ve considered adding an additional rooftop A/C and it’s even pre-wired for it in the bedroom (Thanks, Keystone!)… but a 2nd A/C is still pretty expensive and are still optional equipment (Boo, Keystone) on these RVs. In our model, it’s non-ducted in the bedroom so it just serves to cool that room, which isn’t a bad thing. Collectively with the main A/C, I’m sure it makes a big difference. Besides cost, I really like the natural light that comes through the skylight, and the fans I installed do a great job of exhausting the hot stale air at night while pulling fresh air in through the windows we sleep next to. So I decided to try something different for now…
In my home shop (which is just a big portion of the garage reserved for just me), I have a free standing A/C which I use while tinkering on projects. Since it’s mobile, I decided to try and use it in the RV this summer. Why not, I already own it?! So began the ideas of where to put it, power considerations, and where to expel the hot exhaust.
I considered installing the A/C in the bedroom, but with the adjustable ceiling vents I installed allowing me to close off certain areas in order to boost other areas as a result; combined with the space it’ll take up, and also needing to cut a hole in the wall of our bedroom for the exhaust tube of the A/C, annnnnd this is still just a test… no thanks. I settled on putting it in the RV’s garage as shown in this sneak peek pic below.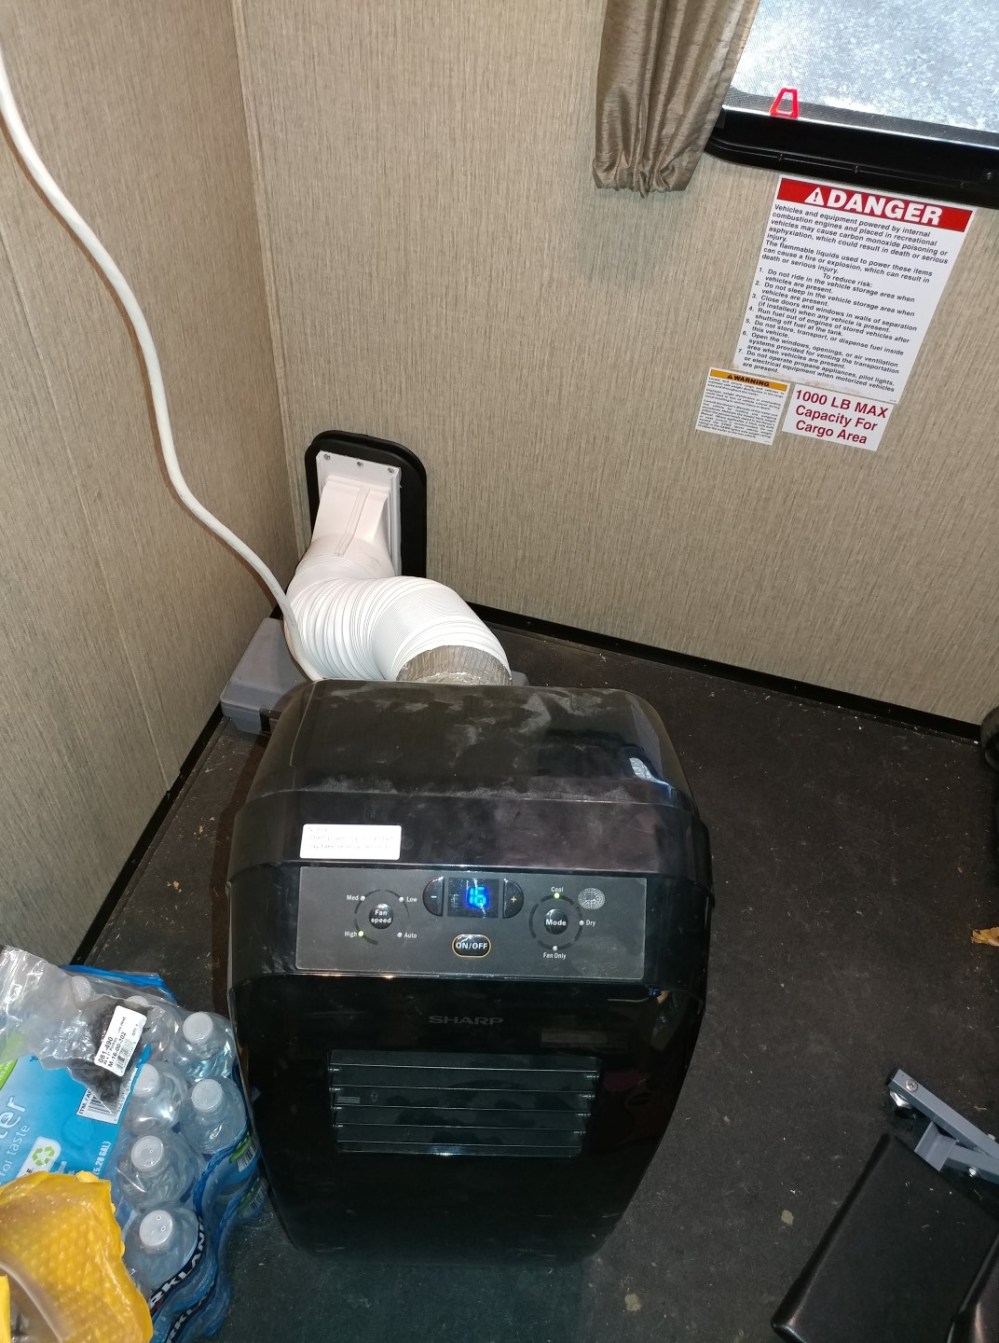
Since the Toyhauler garage already has two wall vents from the factory, one up high, and another at the floor level, finding a way to exhaust the hot air will be straight forward. Before I can proceed though, I now get to tackle another annoyance which are the plastic white vent trim pieces installed by Keystone. Why not choose a nice matching dark color, like I don’t know… black?
luckily I found this site which sells good quality replacements, and they’re very affordable! One thing to note, the stock white ones are a rigid hard plastic, and the new black replacement ones are more pliable. Also, be sure to measure the depth so you get the right distance from the inside wall to the vent’s grate. I chose the deepest ones and trimmed them myself with a jigsaw.


With that out of the way, I began mocking-up how I’d attach the exhaust hose to the vent. When I purchased the black trim pieces, I got 4 of them knowing I’d want to test out and retrofit the hose end to one with the window-mount parts that came in the box of the A/C.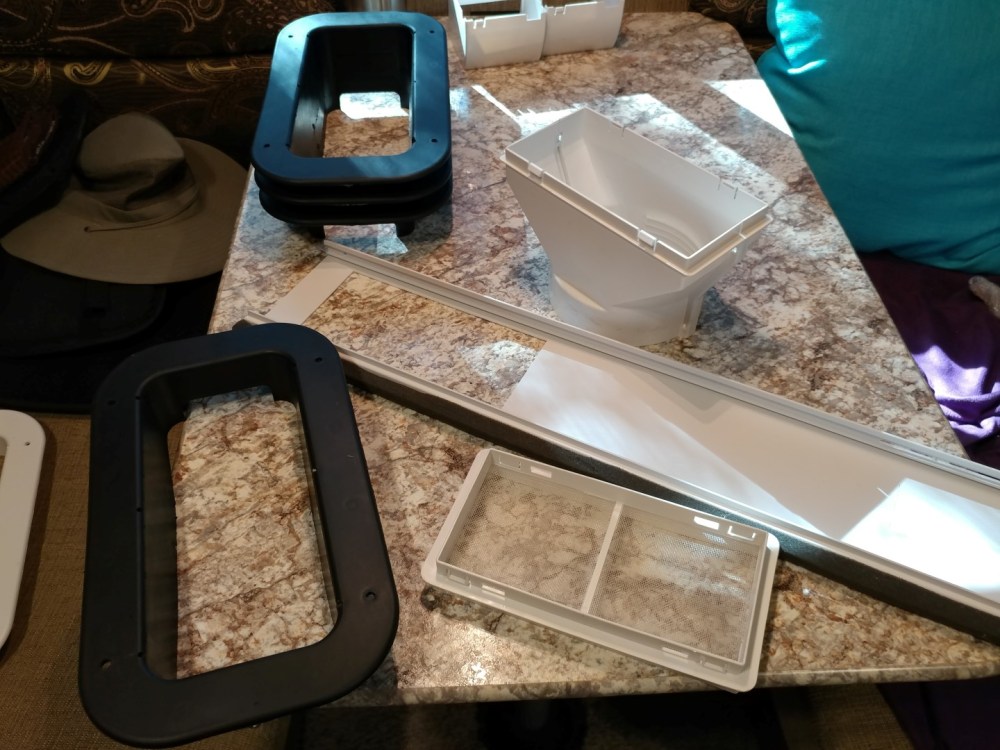
Then it occurred to me after stacking the trim pieces to put them aside, I could just insert one with the hose attached and press it into the existing one mounted to the RV like a sleeve in a sleeve! So began some mocking up with the screen from the window panel kit which the hose-end snaps into.


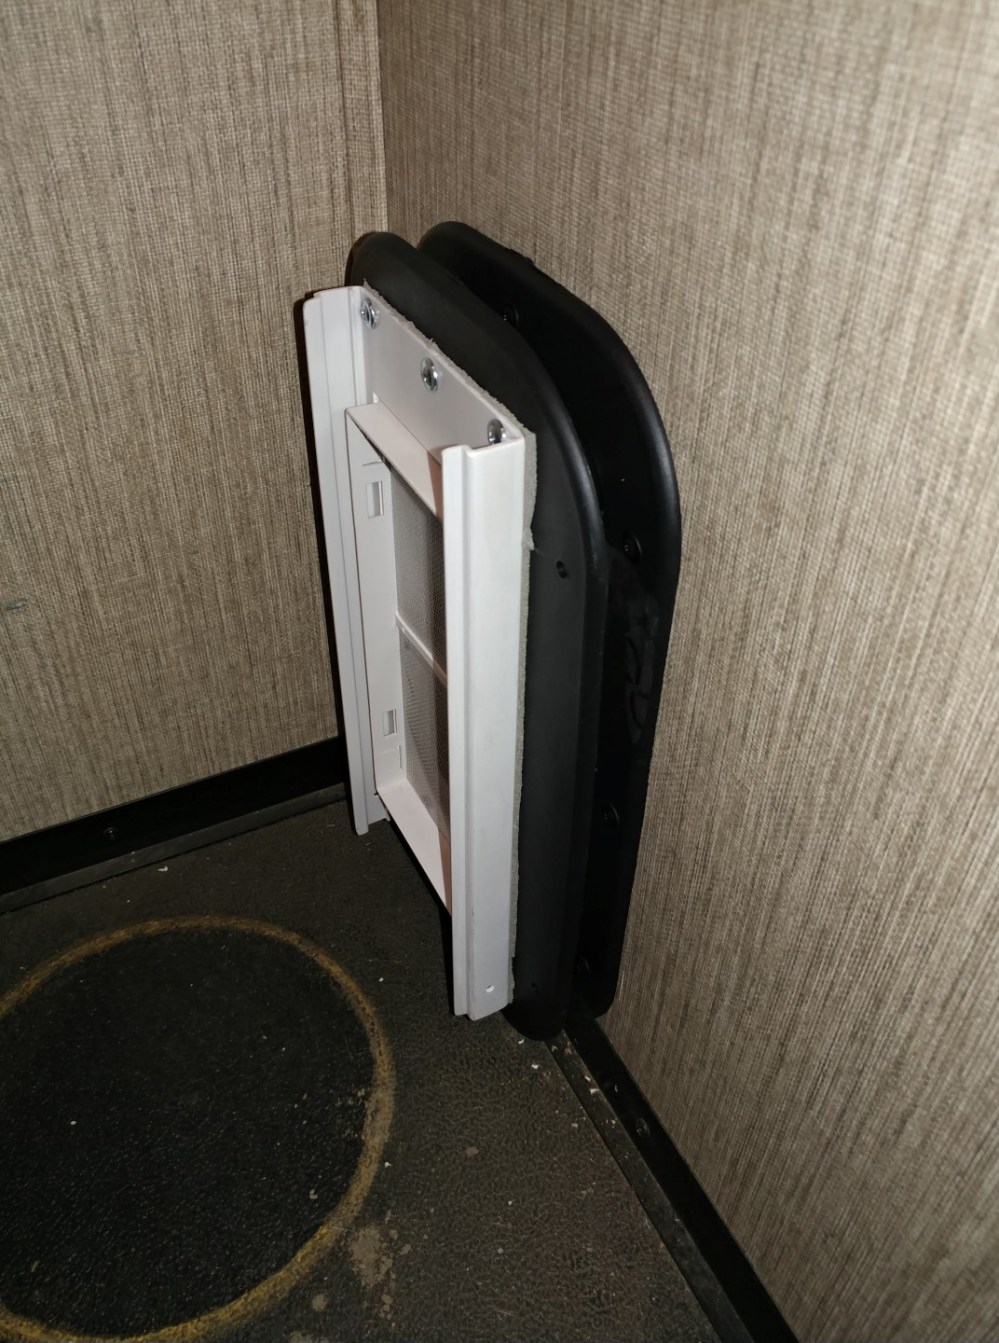
I know now that the two critical pieces will fit just fine. I put the window panel that the screen attaches to and measured so I could cut it to fit on the black trim piece. Remember these are parts meant to slide to fit into a home window allowing the hot air to escape outside. To keep a good seal, I elected to use some foam tape before attaching the window panel to make sure there are no leaky seams.


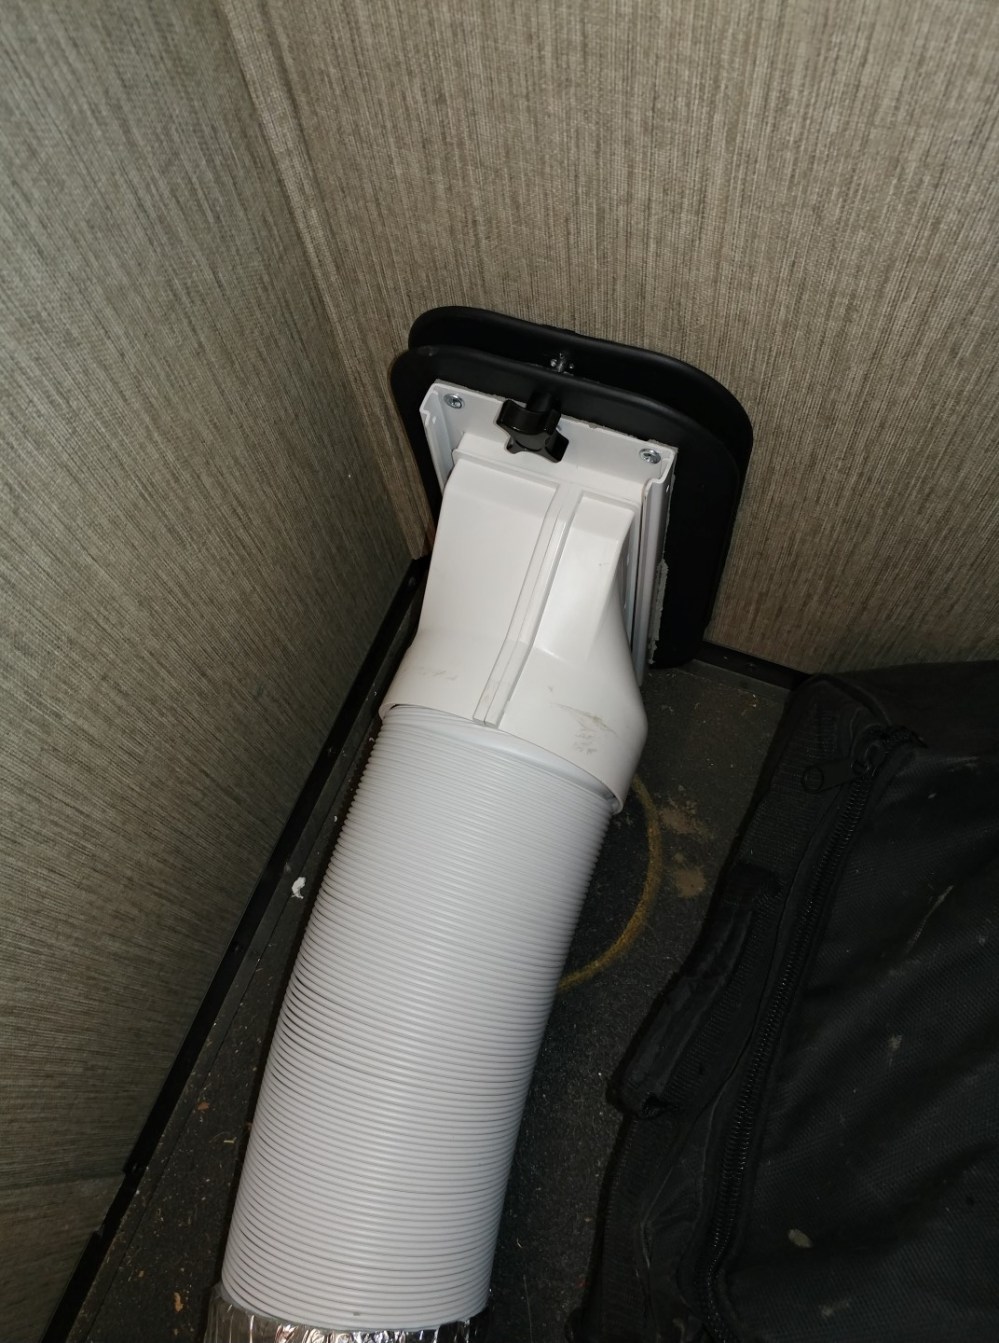
If you’re keeping track, now we have the black vent trim piece, the cut window panel screwed into the trim piece, the rectangle screen that fits onto the cut window panel, and finally the hose end that snaps into the screen. Whew! Now let’s look at the business side where all the hot air will escape.


Prety neat, right?! But if you’re still wondering how this will affix to the vent, this pic should help. The part I fabricated is simply pushed into the existing vent trim mounted to the RV and friction keeps it there.
I was so excited to get it all hooked up and test it out!


And guess what… It works great!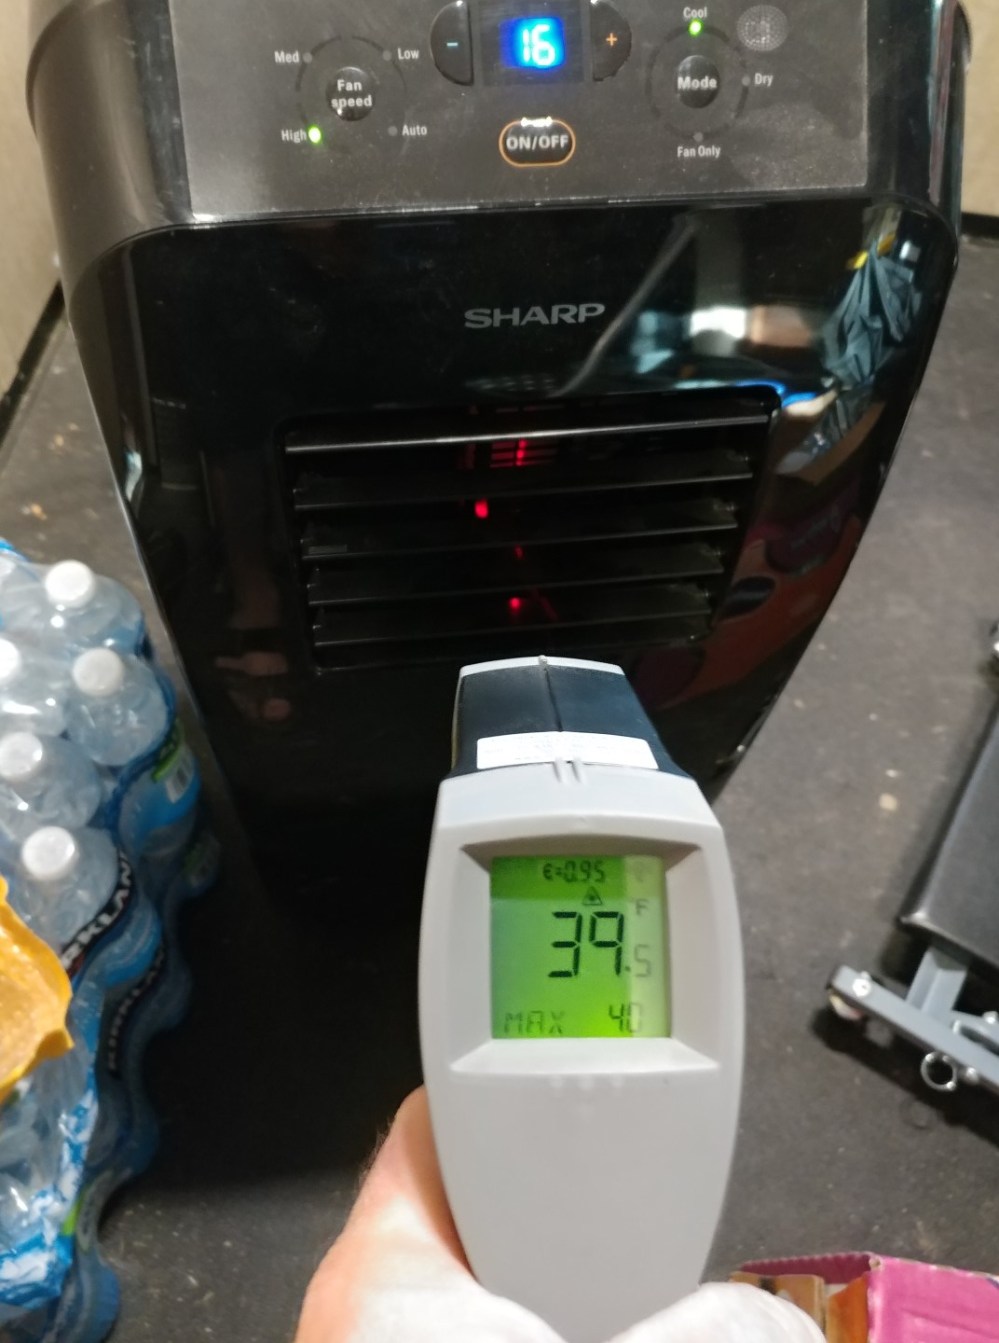
The temp coming out of the back of the A/C, through the hose, and out the vent.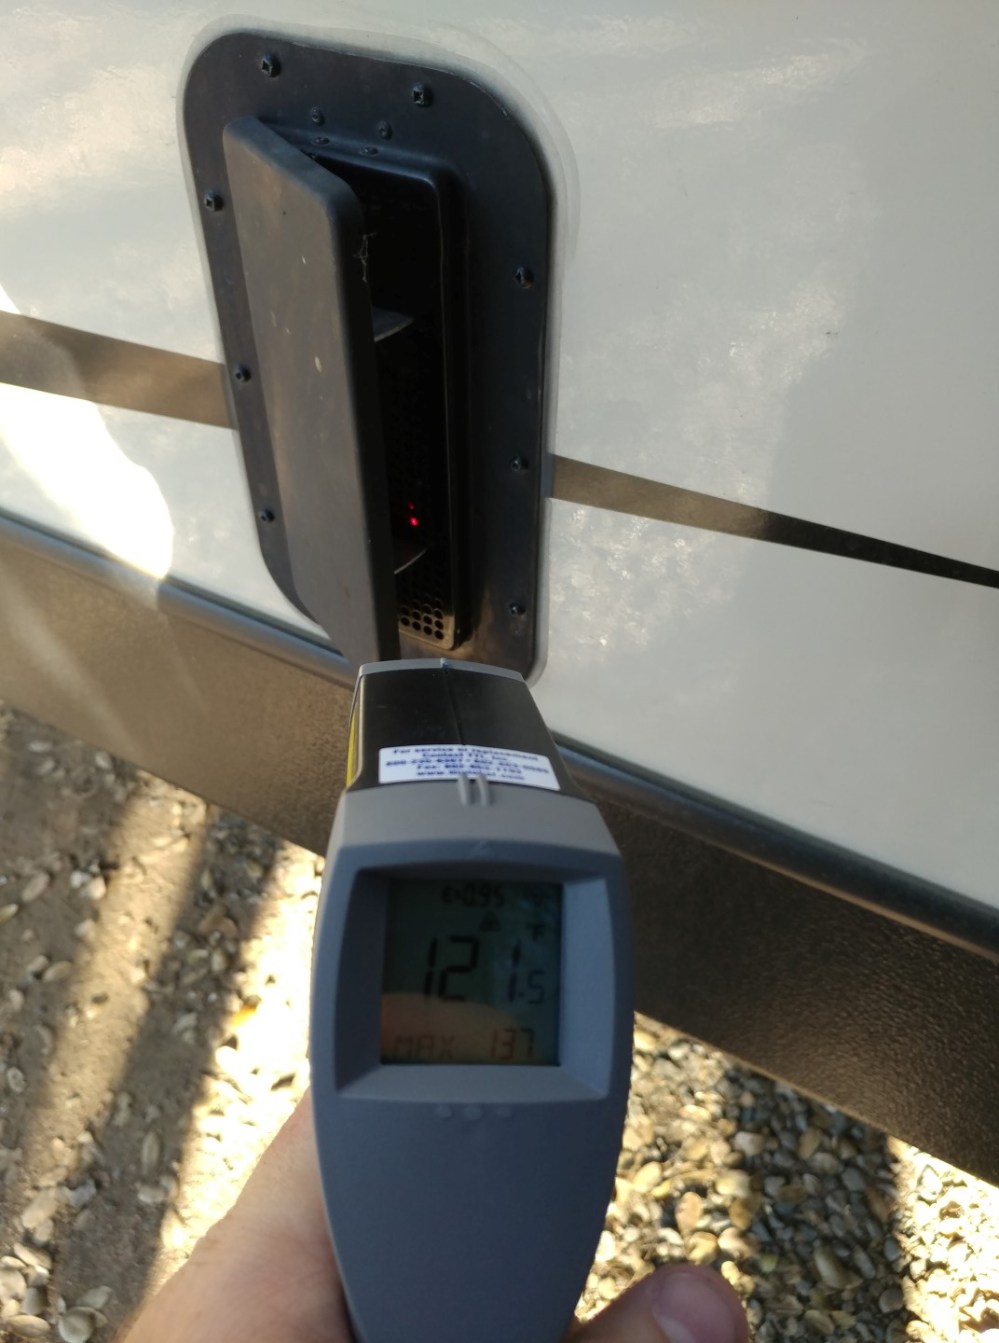
The Ennnnnn… Nope.
What happens to plastic when it get’s hot? It becomes more flexible! What began to happen was the exhaust hose fixture was slipping out from the wall and spewing super hot air inside. Definitely not what I had in mind. So began a way to secure the two parts together, but not permanently.
I bought some 8-32 Brad Hole Tee Nuts and two matching threaded knobs from McMaster-Carr.
I had to drill out the mounting holes on the Tee Nuts to 7/64″ so I could fit the smallest rivets I had (3/32) into it.


Next, I mounted (top and bottom) Tee Nuts to the trim ring that attaches to the RV. I put the flange on the underside so that the pulling pressure could be spread more evenly.


I drilled holes in the A/C trim ring a little tight so that the threaded knob doesn’t slip out easily. It takes a little practice, but it’s not hard securing the two halves together.


Finally, now I’m done!


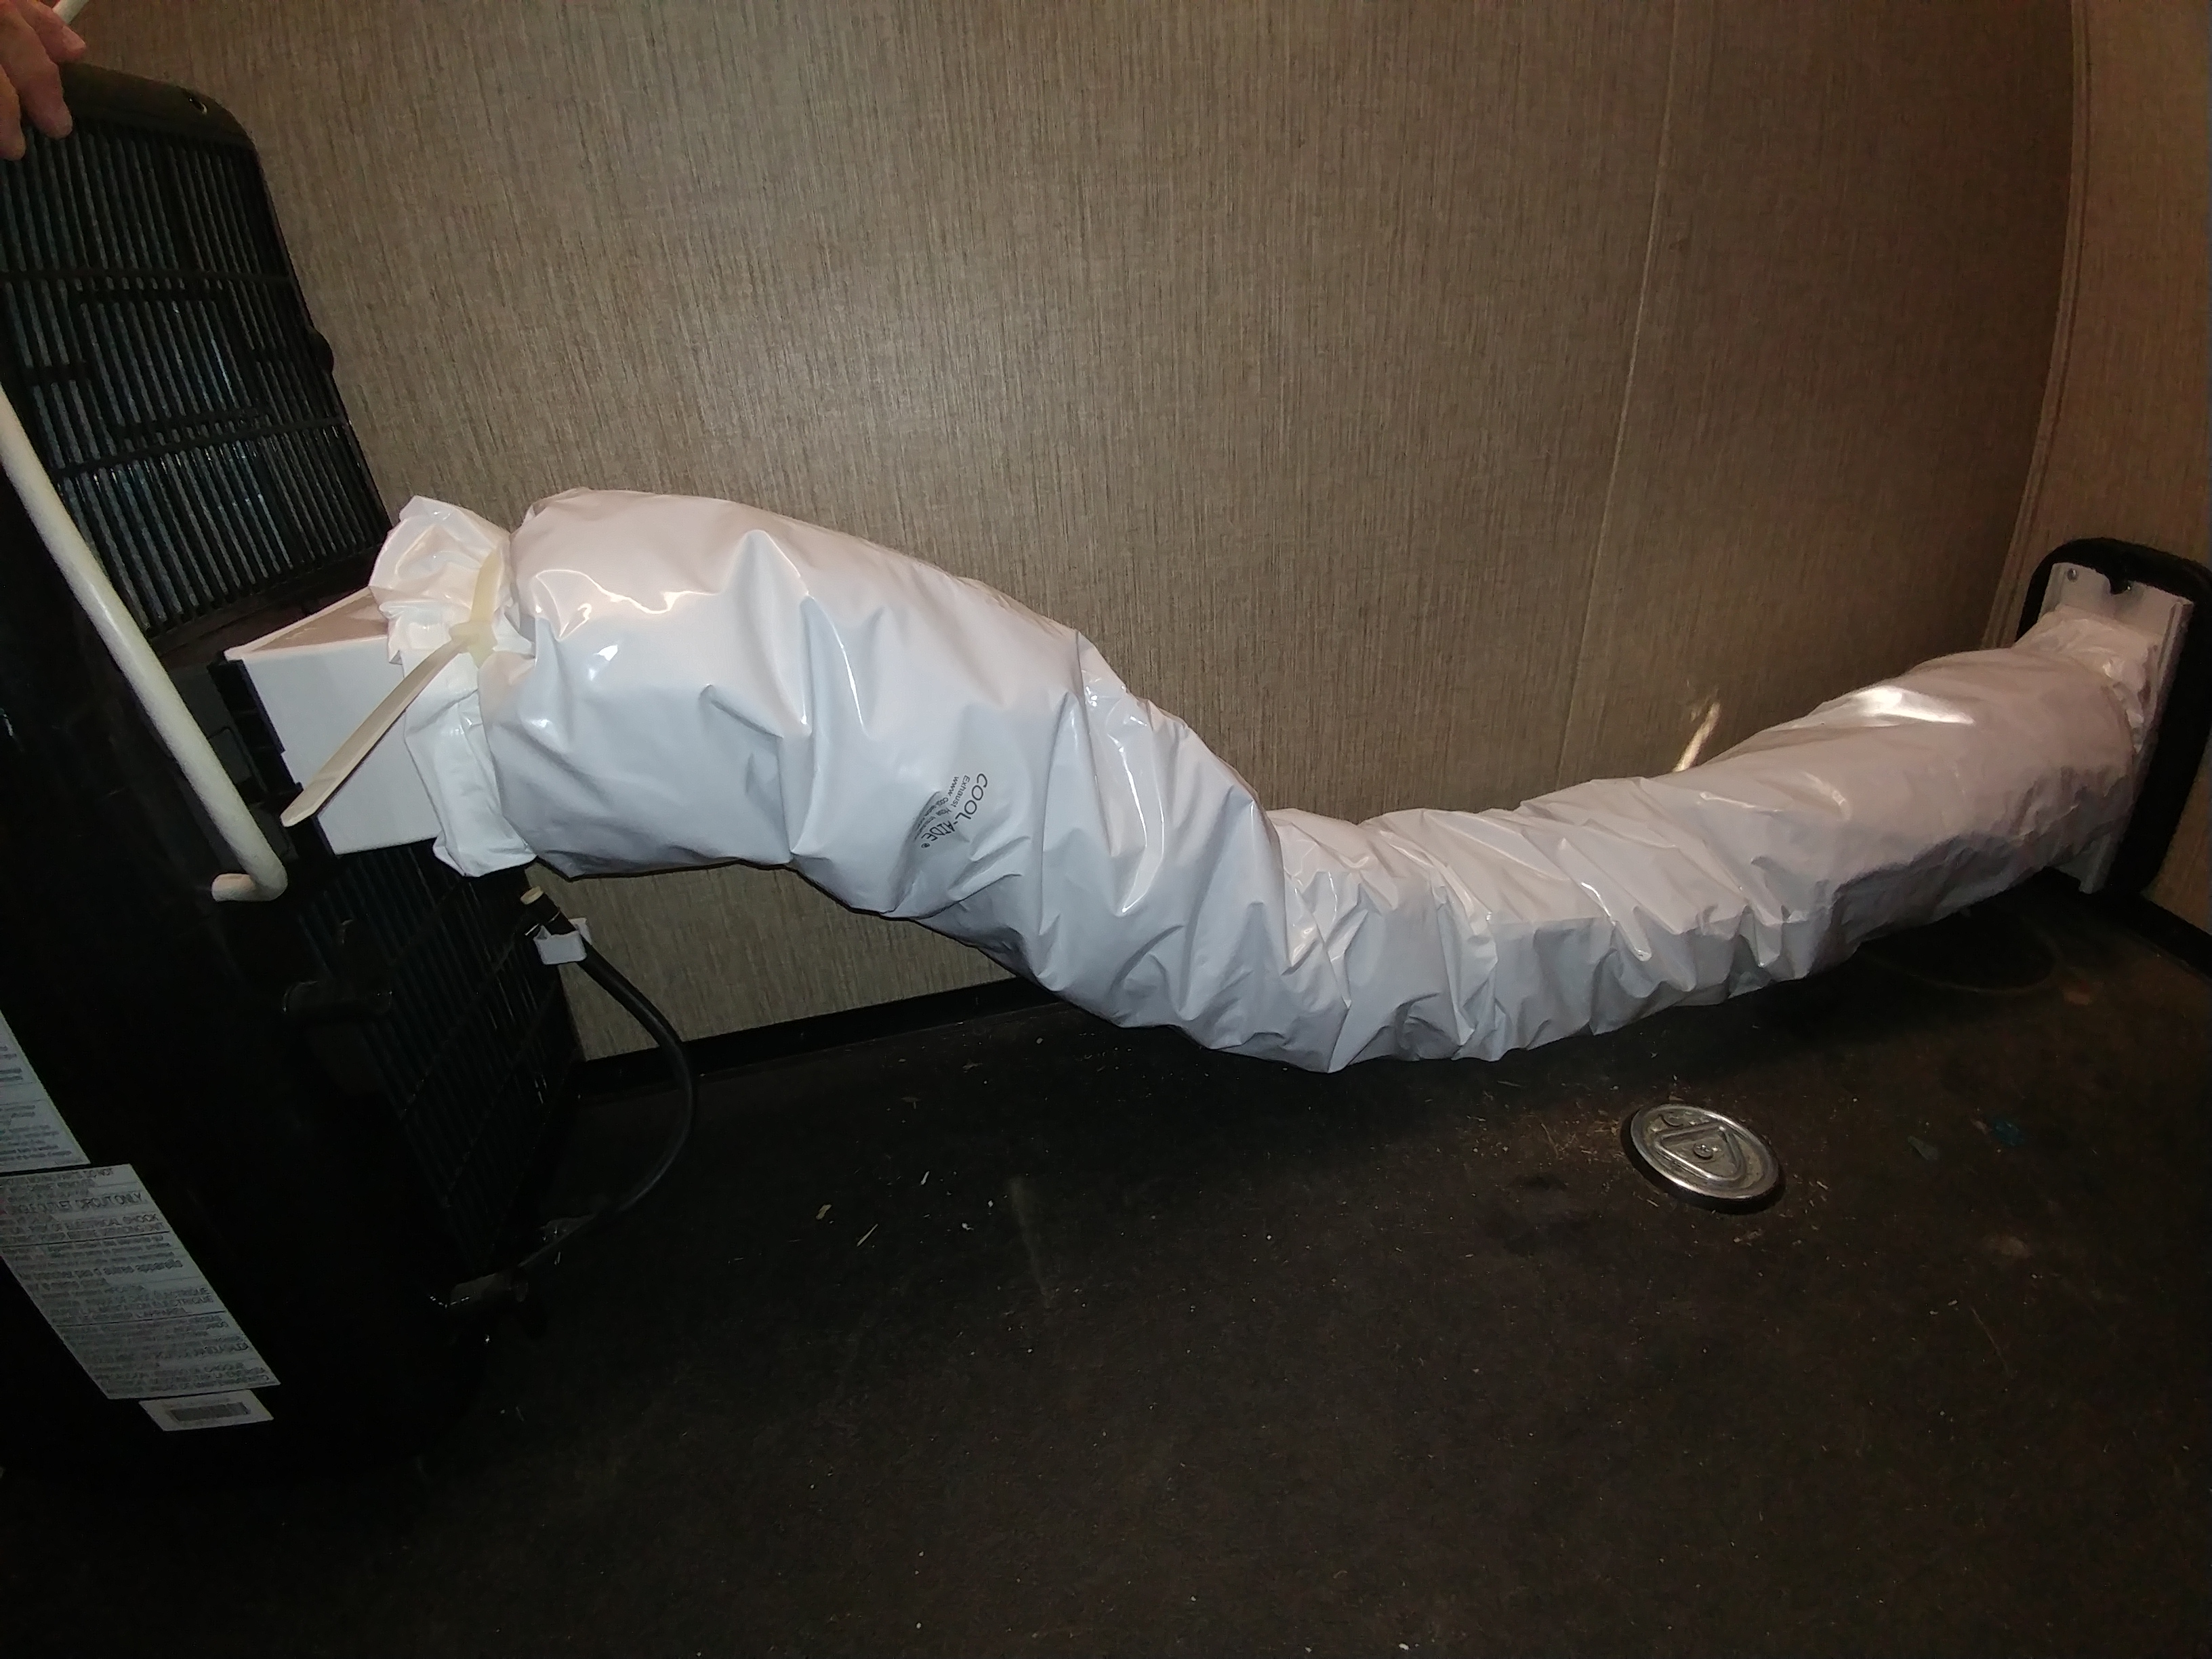
Well almost… The exhaust tubes on this kind of A/C get really warm and end up reheating the area which is counter productive. To mitigate that I’ll be installing a wrap that goes over the exhaust tube. I have been using one in my bedroom at home for a few years and it makes a HUGE difference. The wrapped tube is actually room temperature after installing the Cool-Aide so all the heat goes outside, nice!

Here it is in action!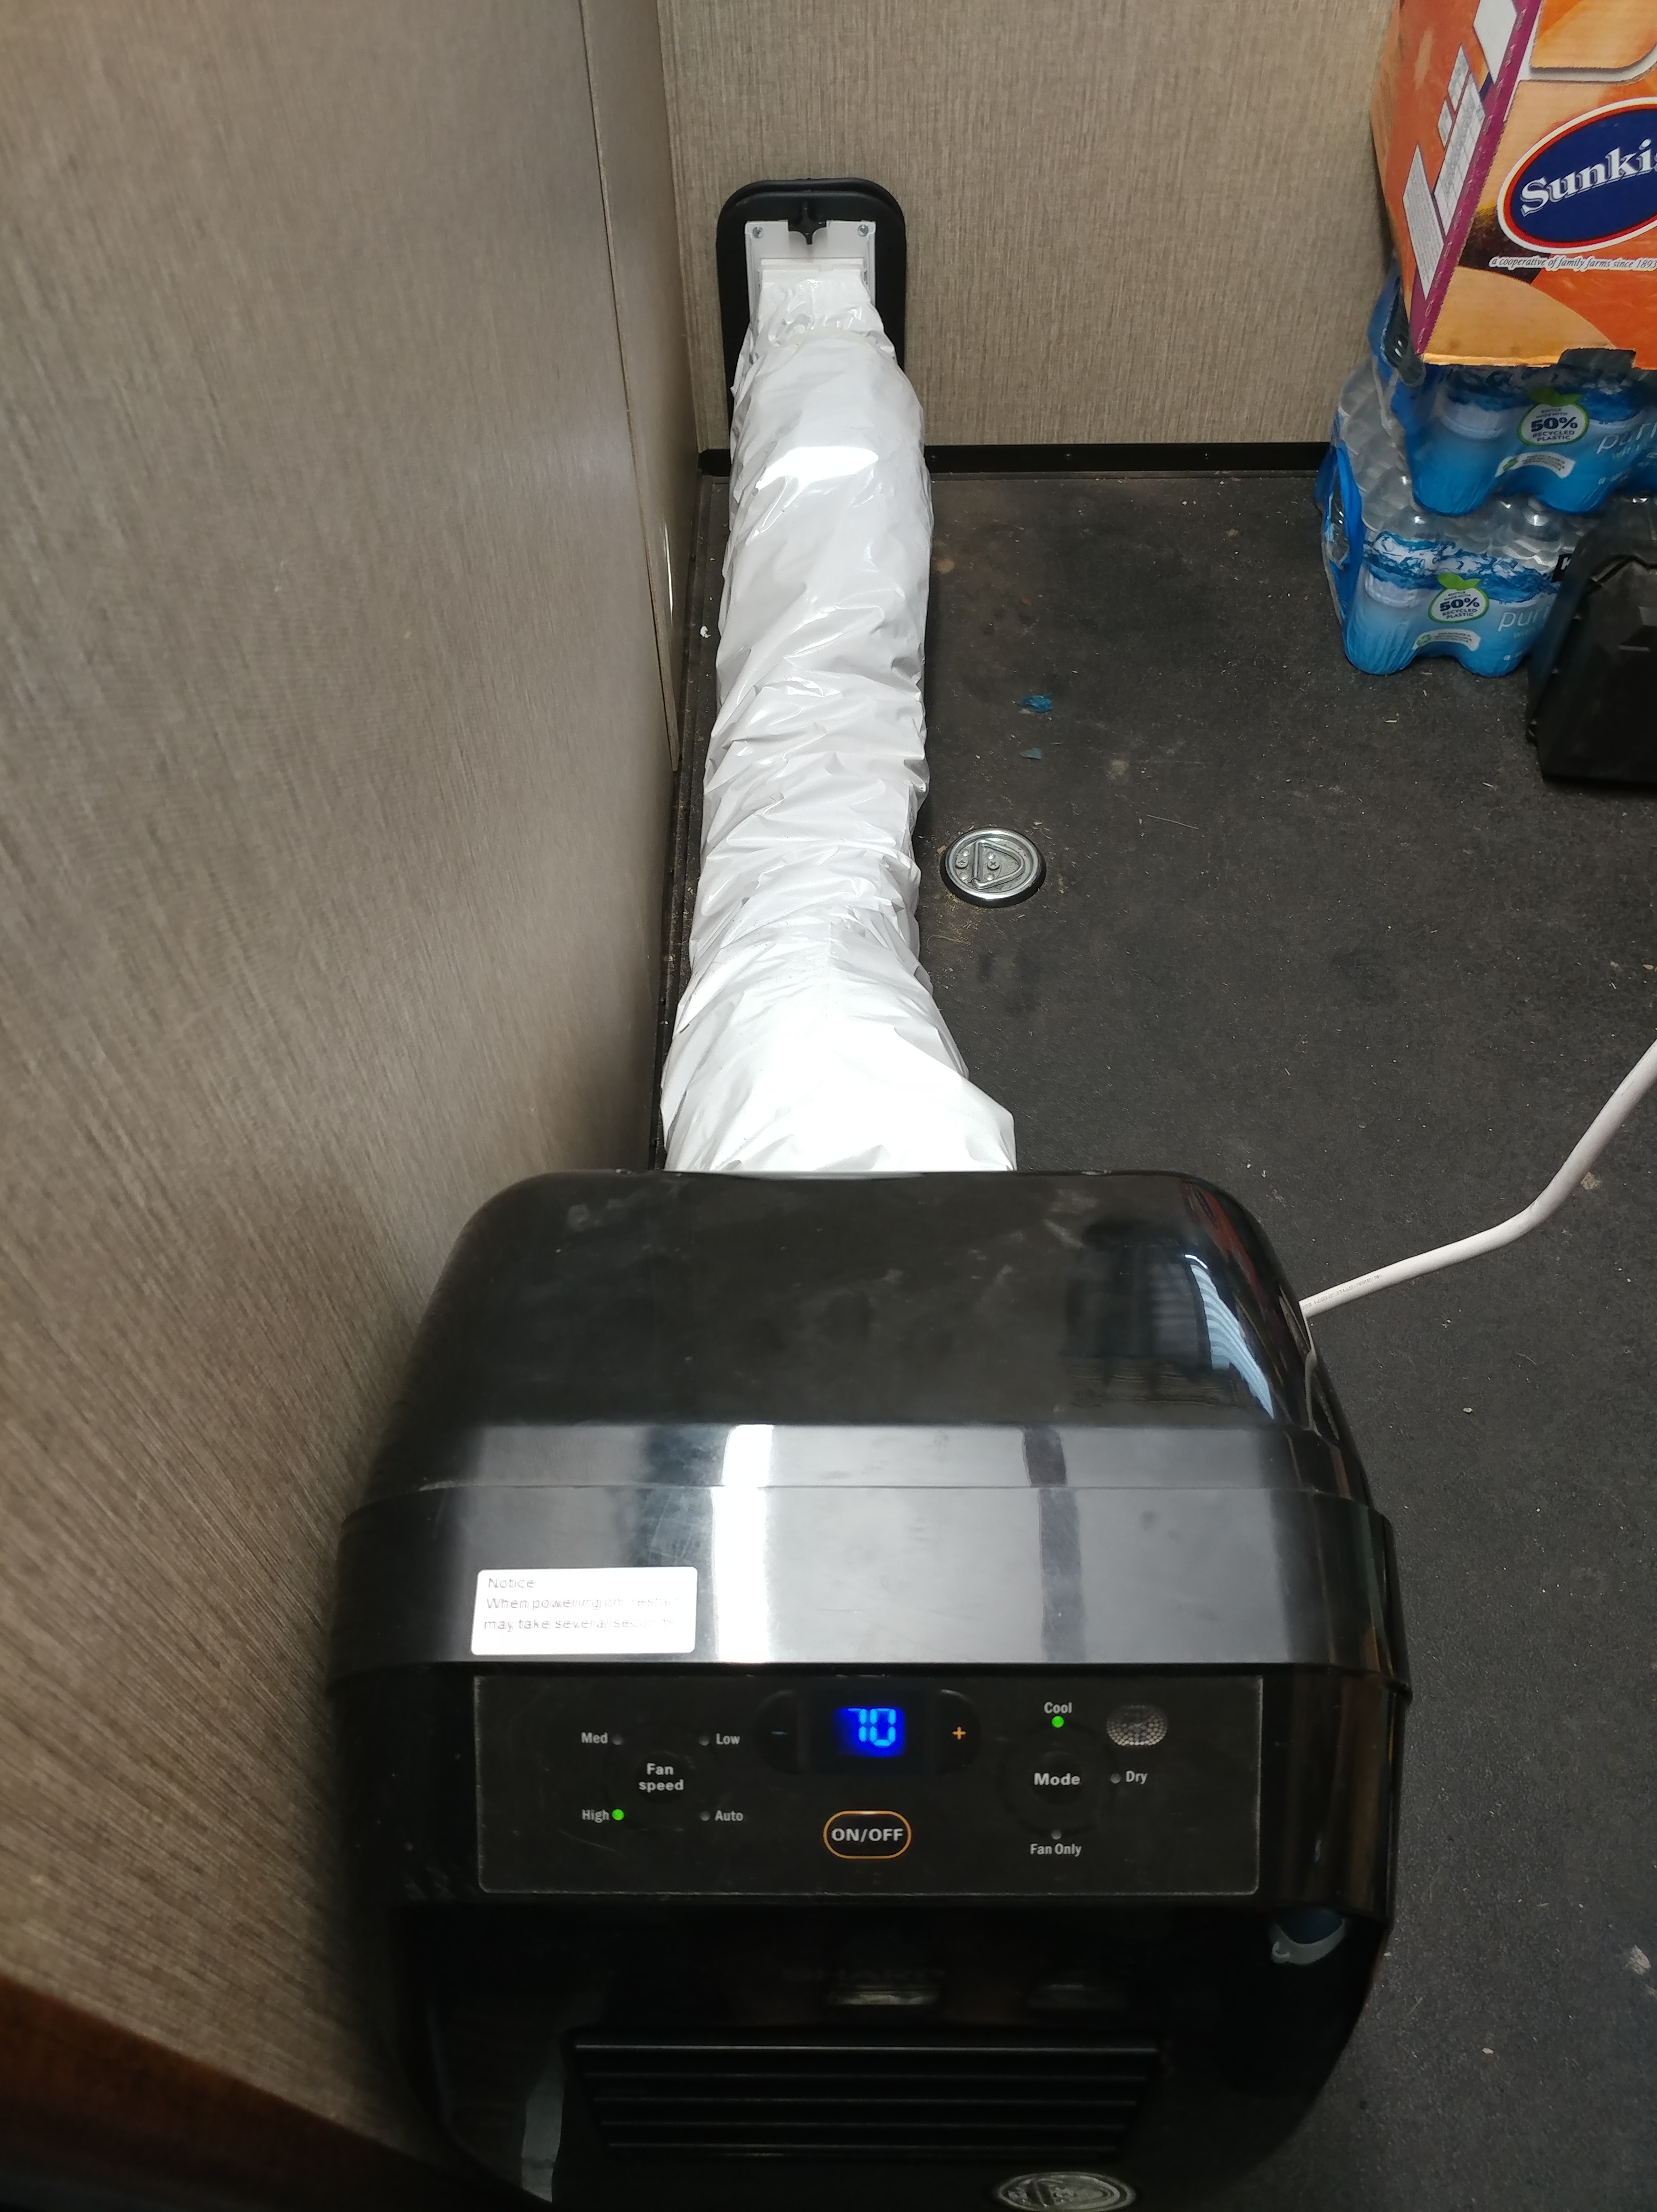
The end. Finally
Check out our other upgrades! Have any questions about this project? Please chat below and I’ll try to respond in a reasonable time. Remember, we have full-time careers and this blog is just a hobby. ☺️
Best regards – RVTherapy
